
Requirements
- A monday.com account with permission to add views to a board.
- A board with two Date columns, a Status column and a People column — the four required fields.
- Board admin rights for the initial column mapping. Everyone else can use the calendar once it is saved.
- Optional: a second Status column for type, and a Text or Long text column for notes.
Install and add the view
Open the monday Marketplace and search for Super Calendar. Install it to your account.
Open the board you want to schedule, click Add view, pick Super Calendar.
The welcome screen opens inside the view. Click Get started.
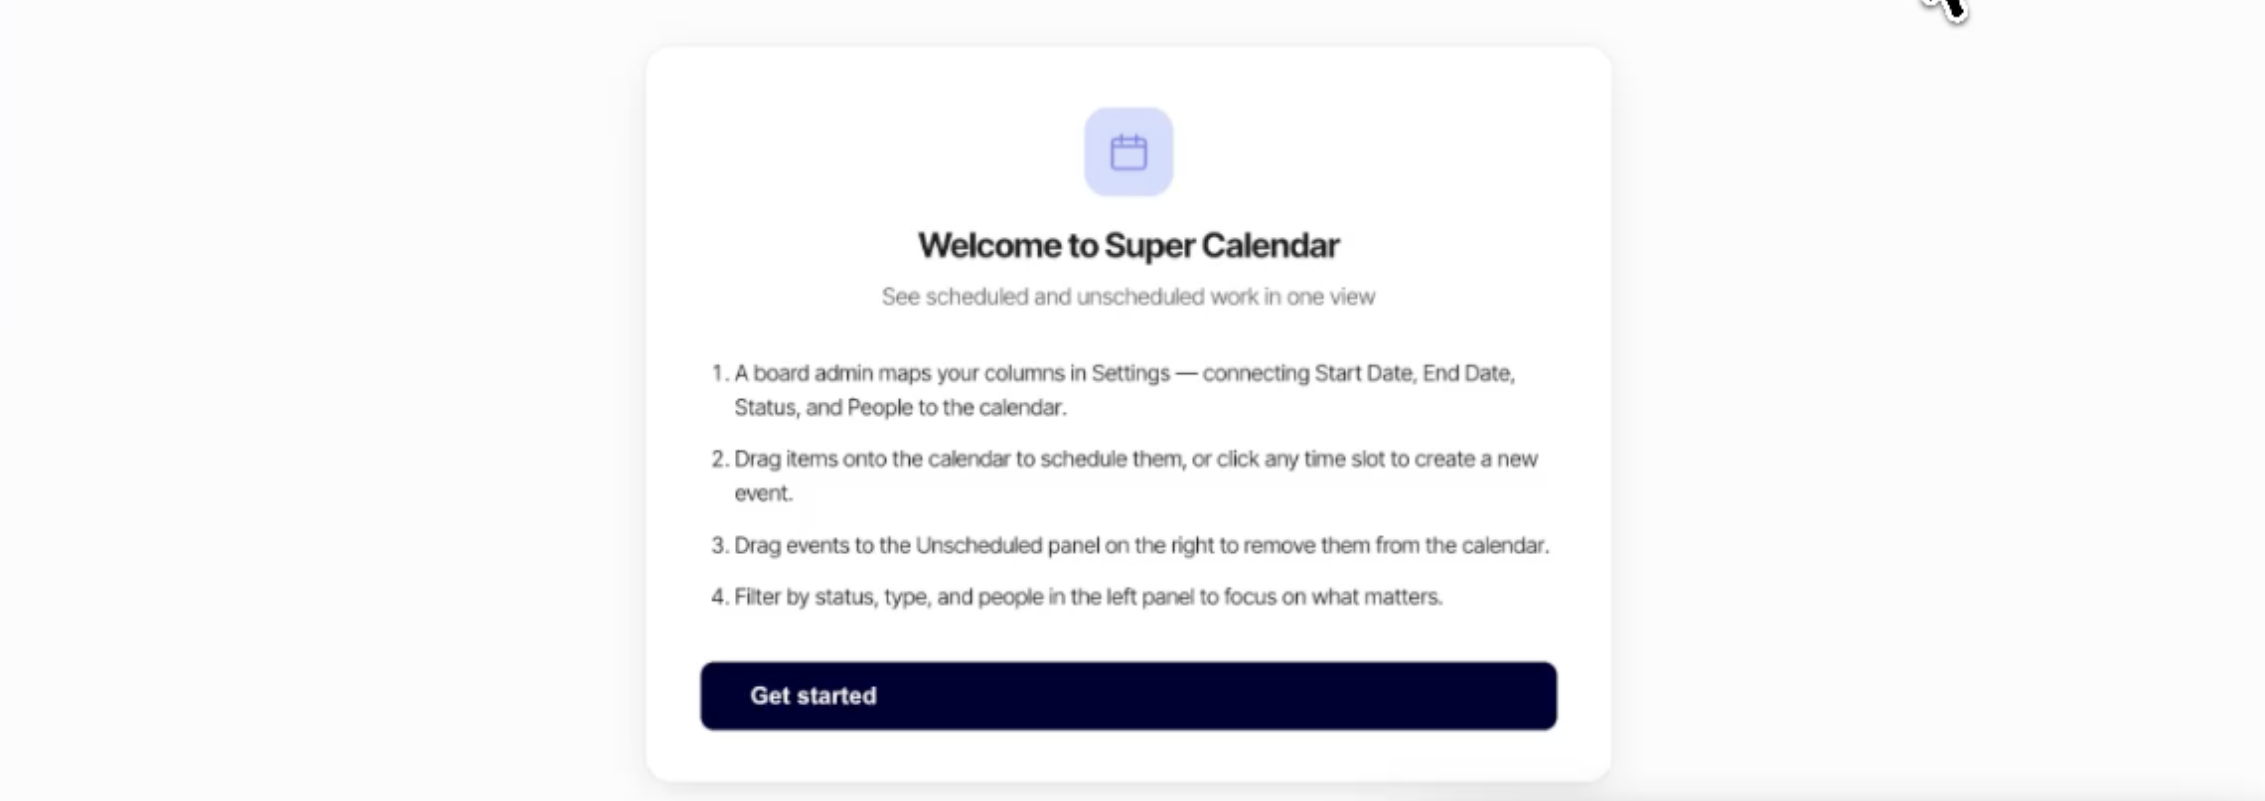
What comes next depends on your role on the board.
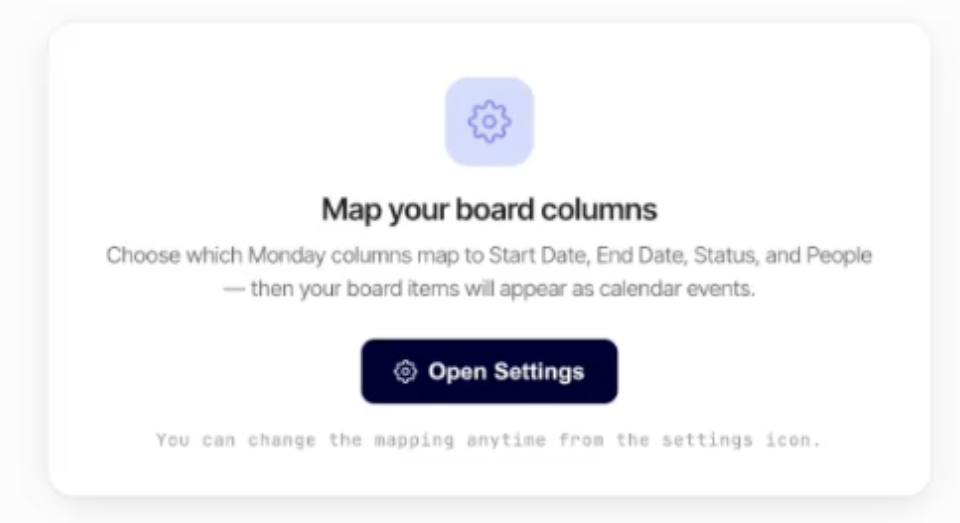
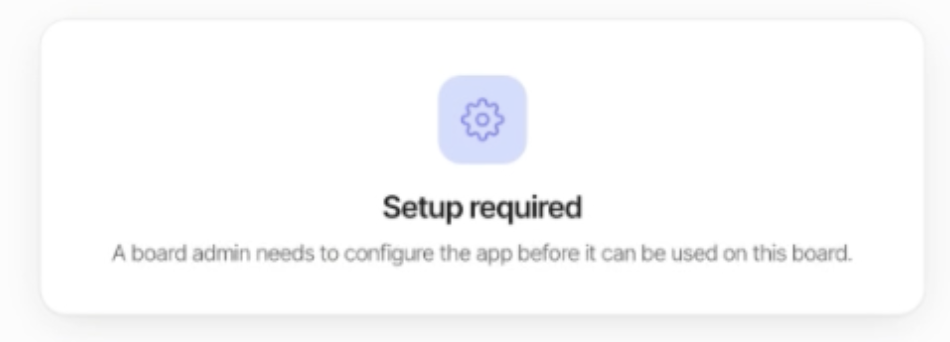
Map your columns
Gear icon → Settings → Column mapping
Mapping connects board columns to calendar fields. The four required fields must be set before the calendar loads; unmapped ones are outlined in red.
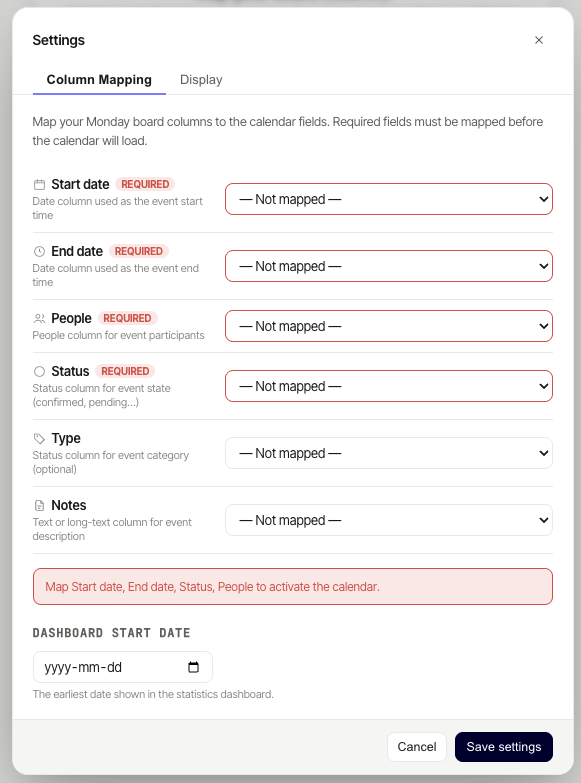
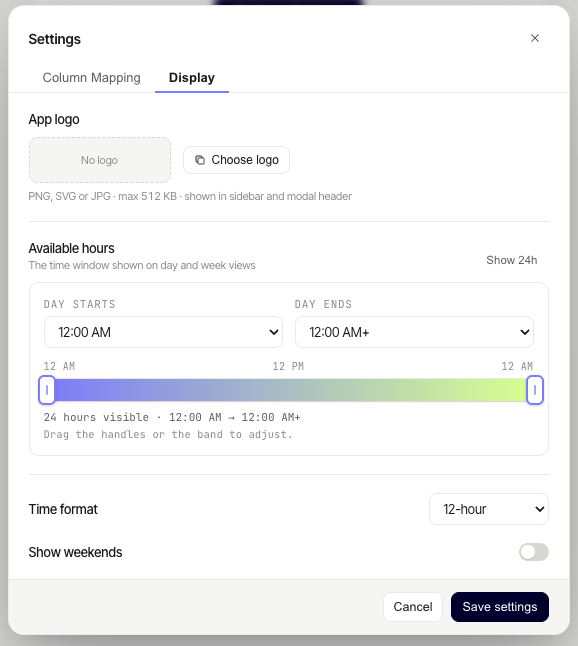
Set the display
Settings → Display
Start scheduling
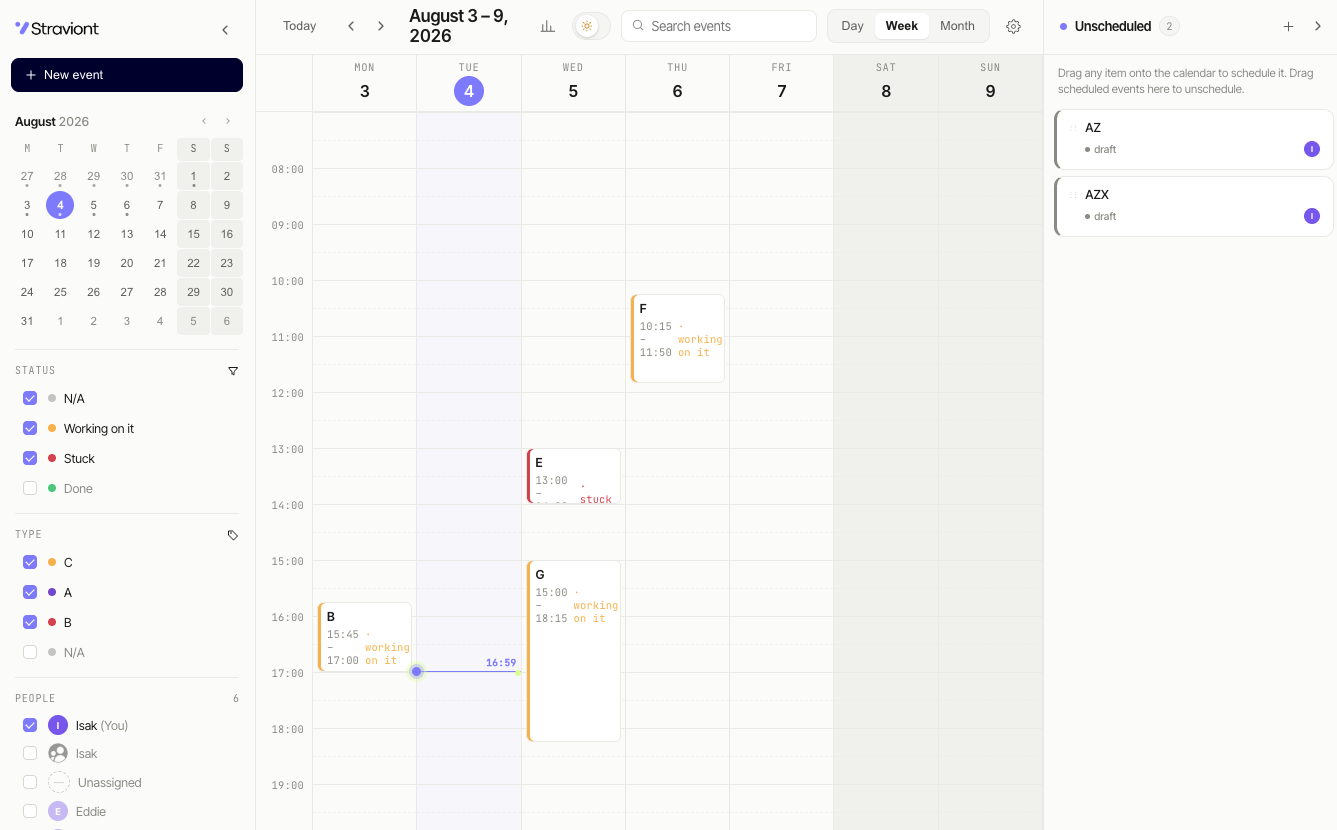
Drag an item from Unscheduled onto a slot; the mapped date columns are written to the board.
Drag an event back into the panel to take it off the calendar without deleting the item.
Click an empty slot or use + New event. The + in the Unscheduled header adds an item with no date.
Status, type and people filters follow your mapping. Search events by name from the toolbar.
On mobile
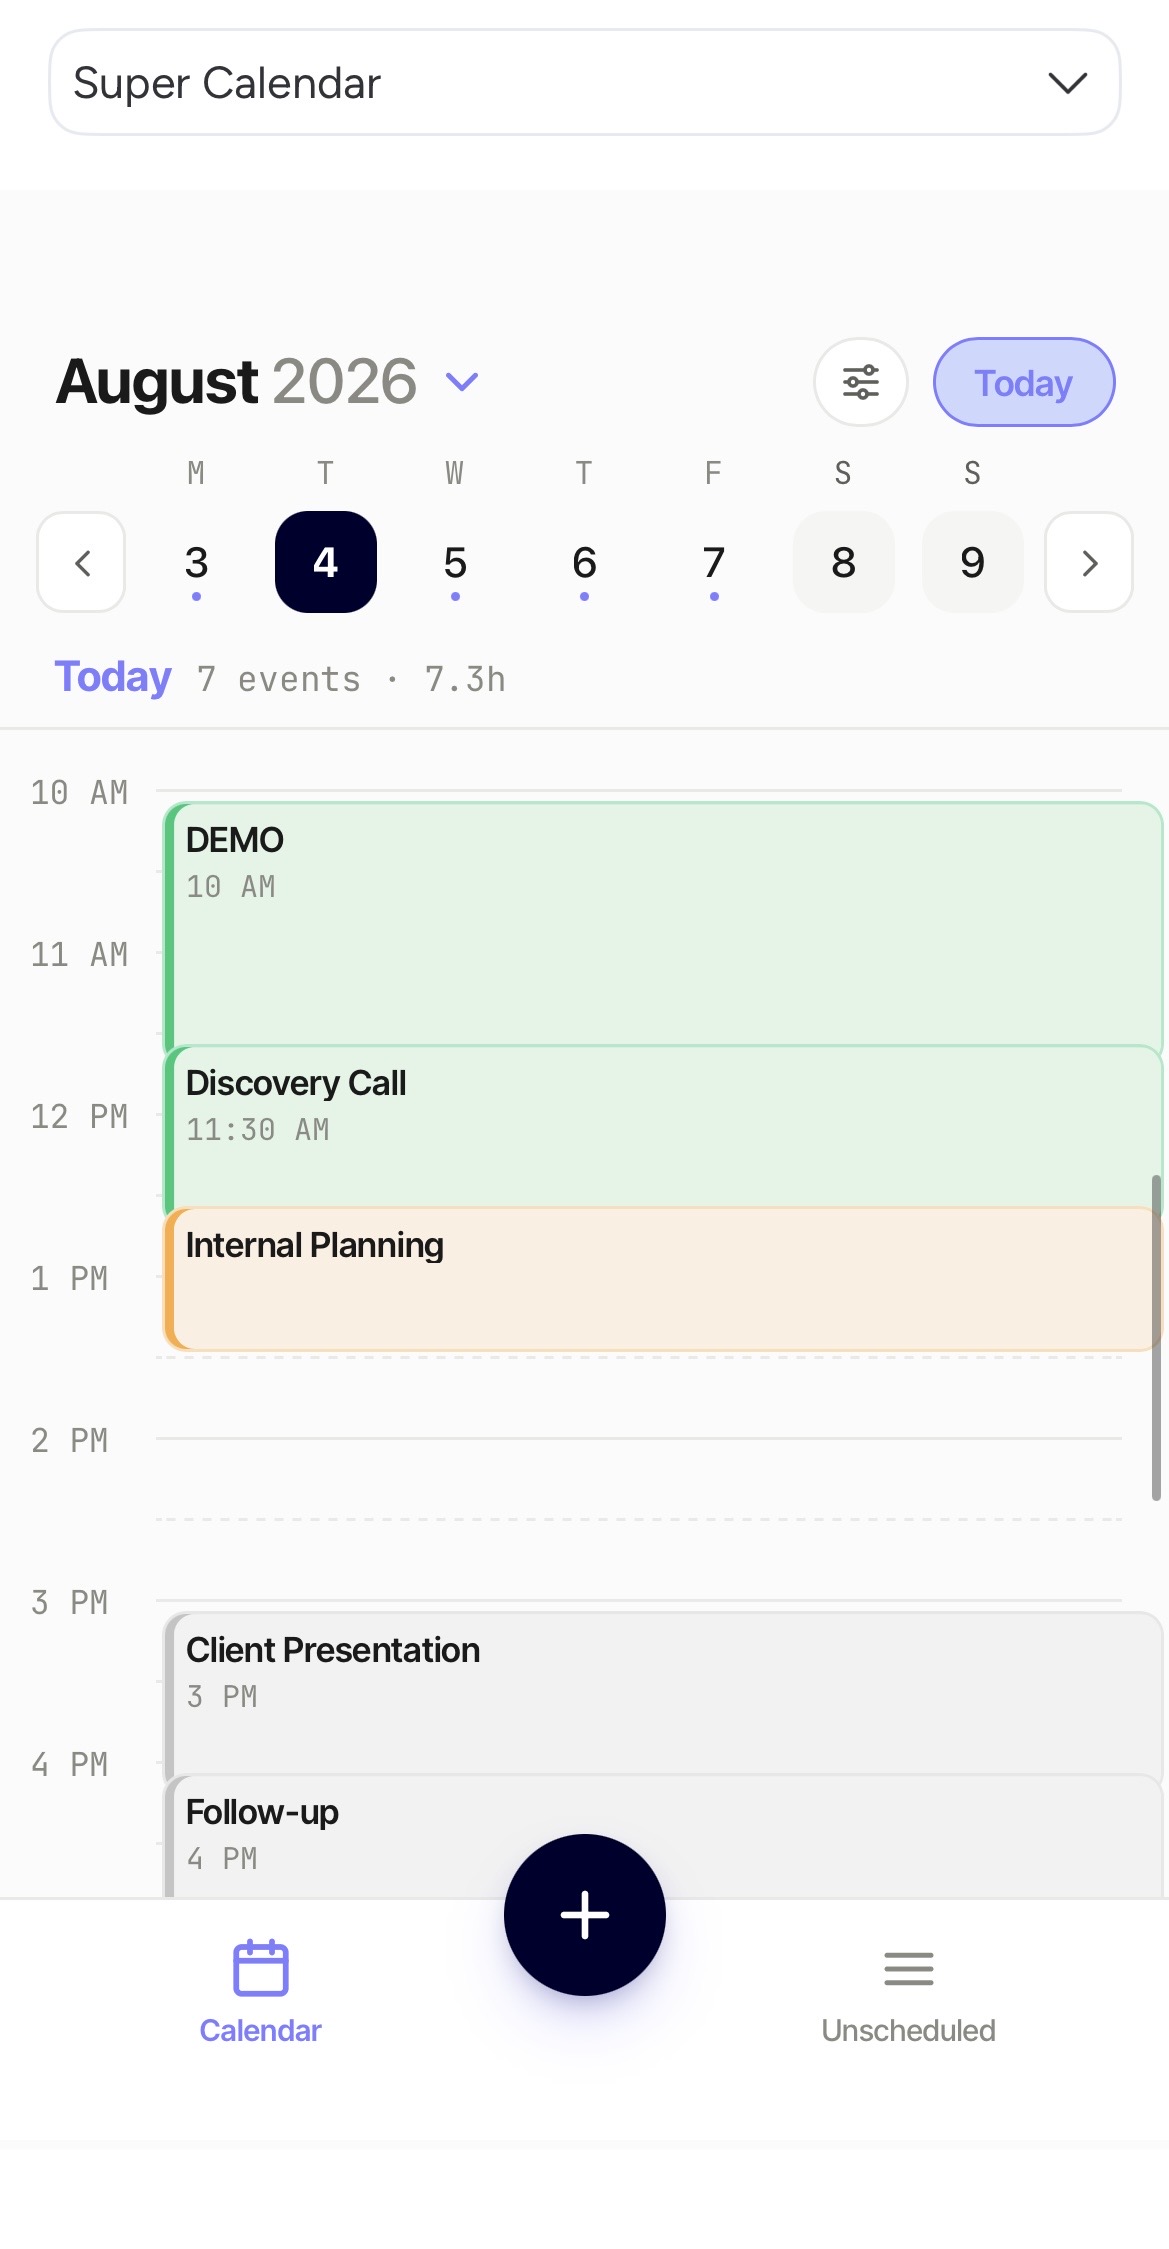
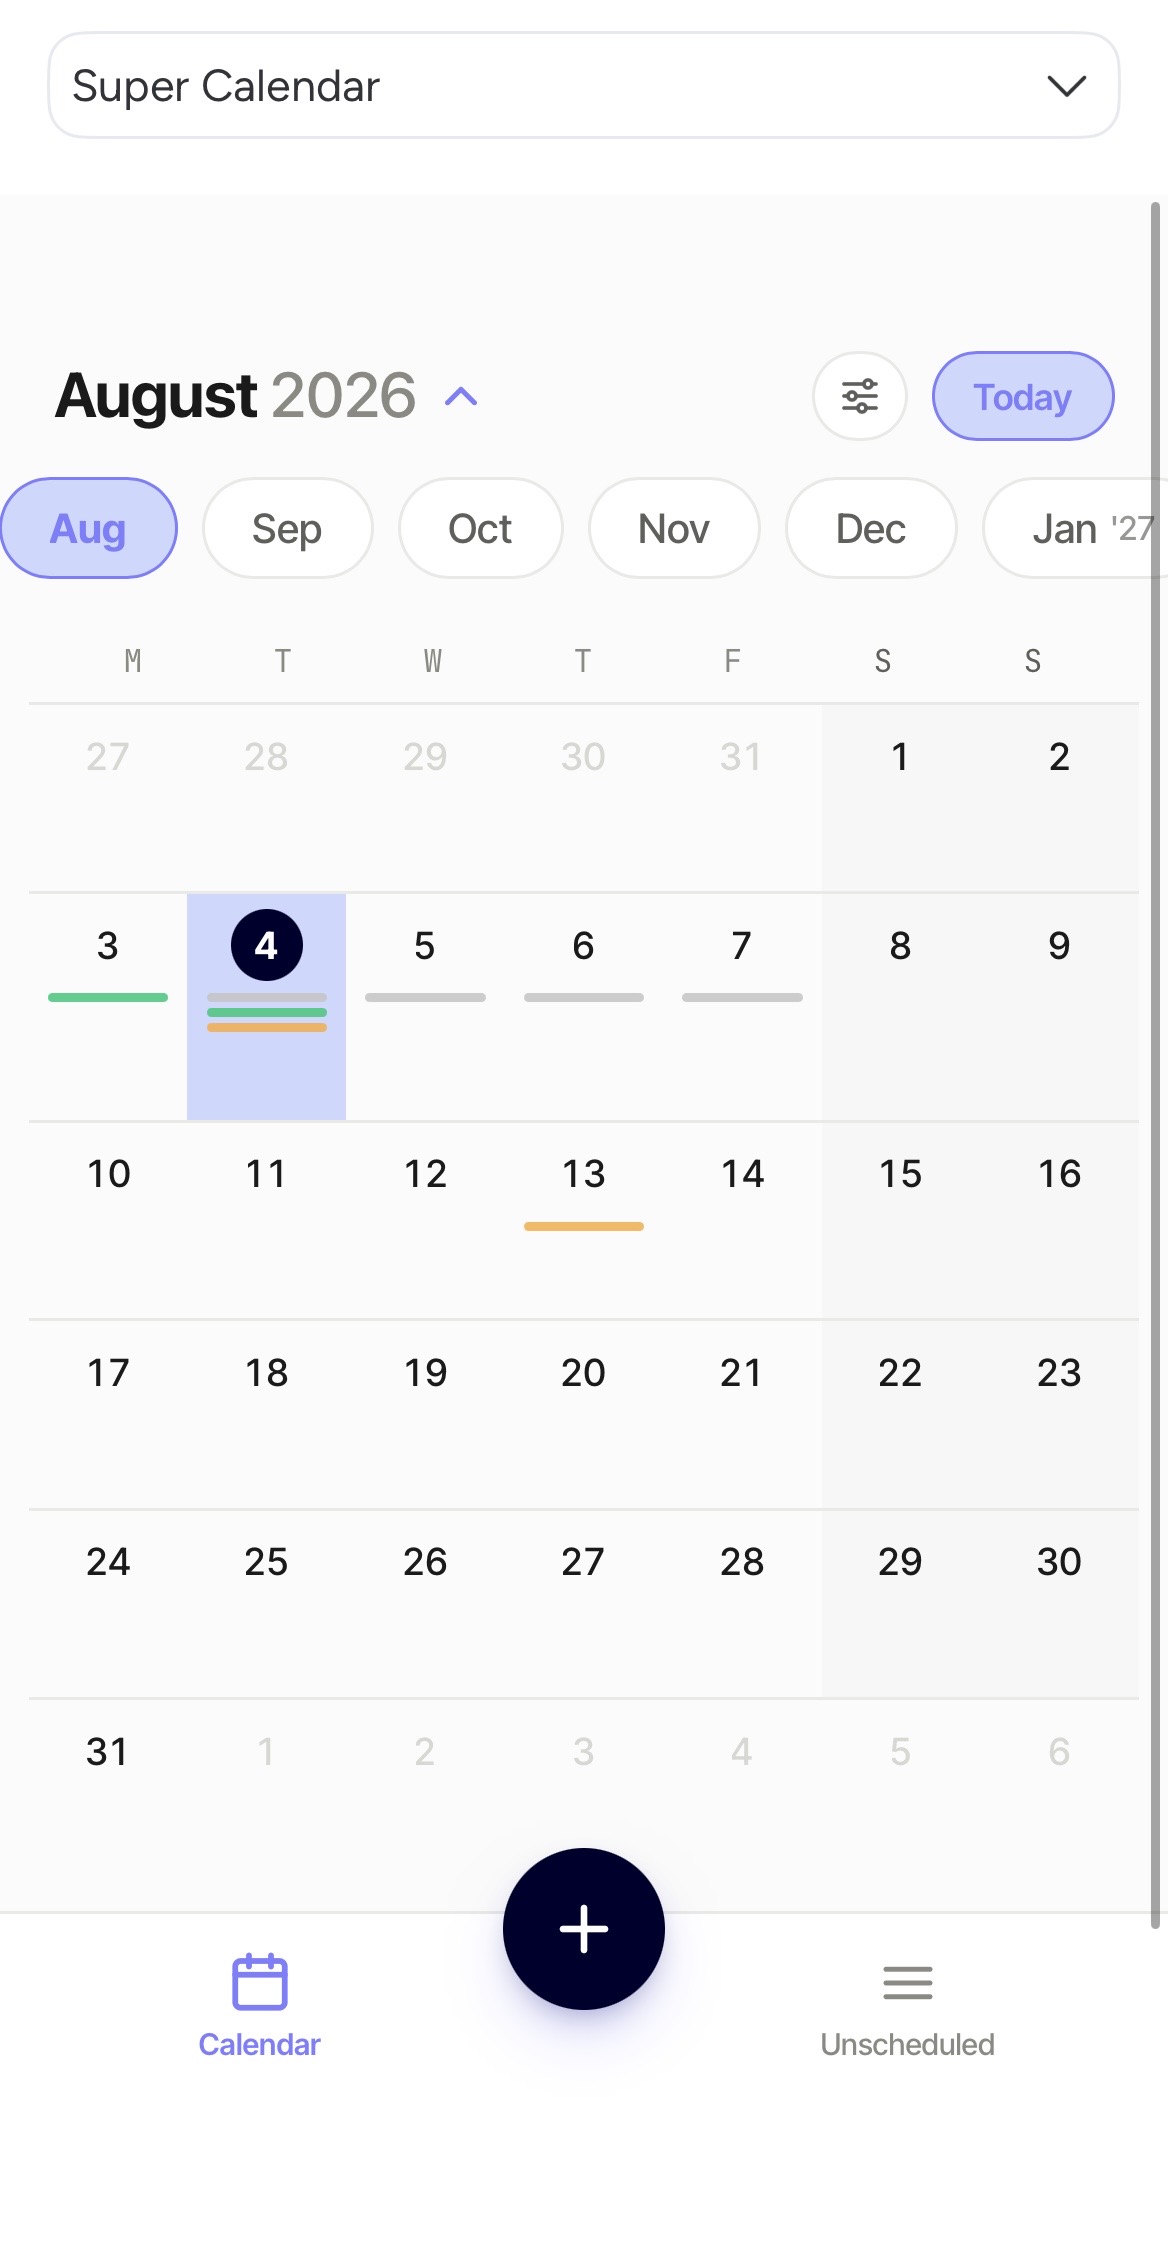
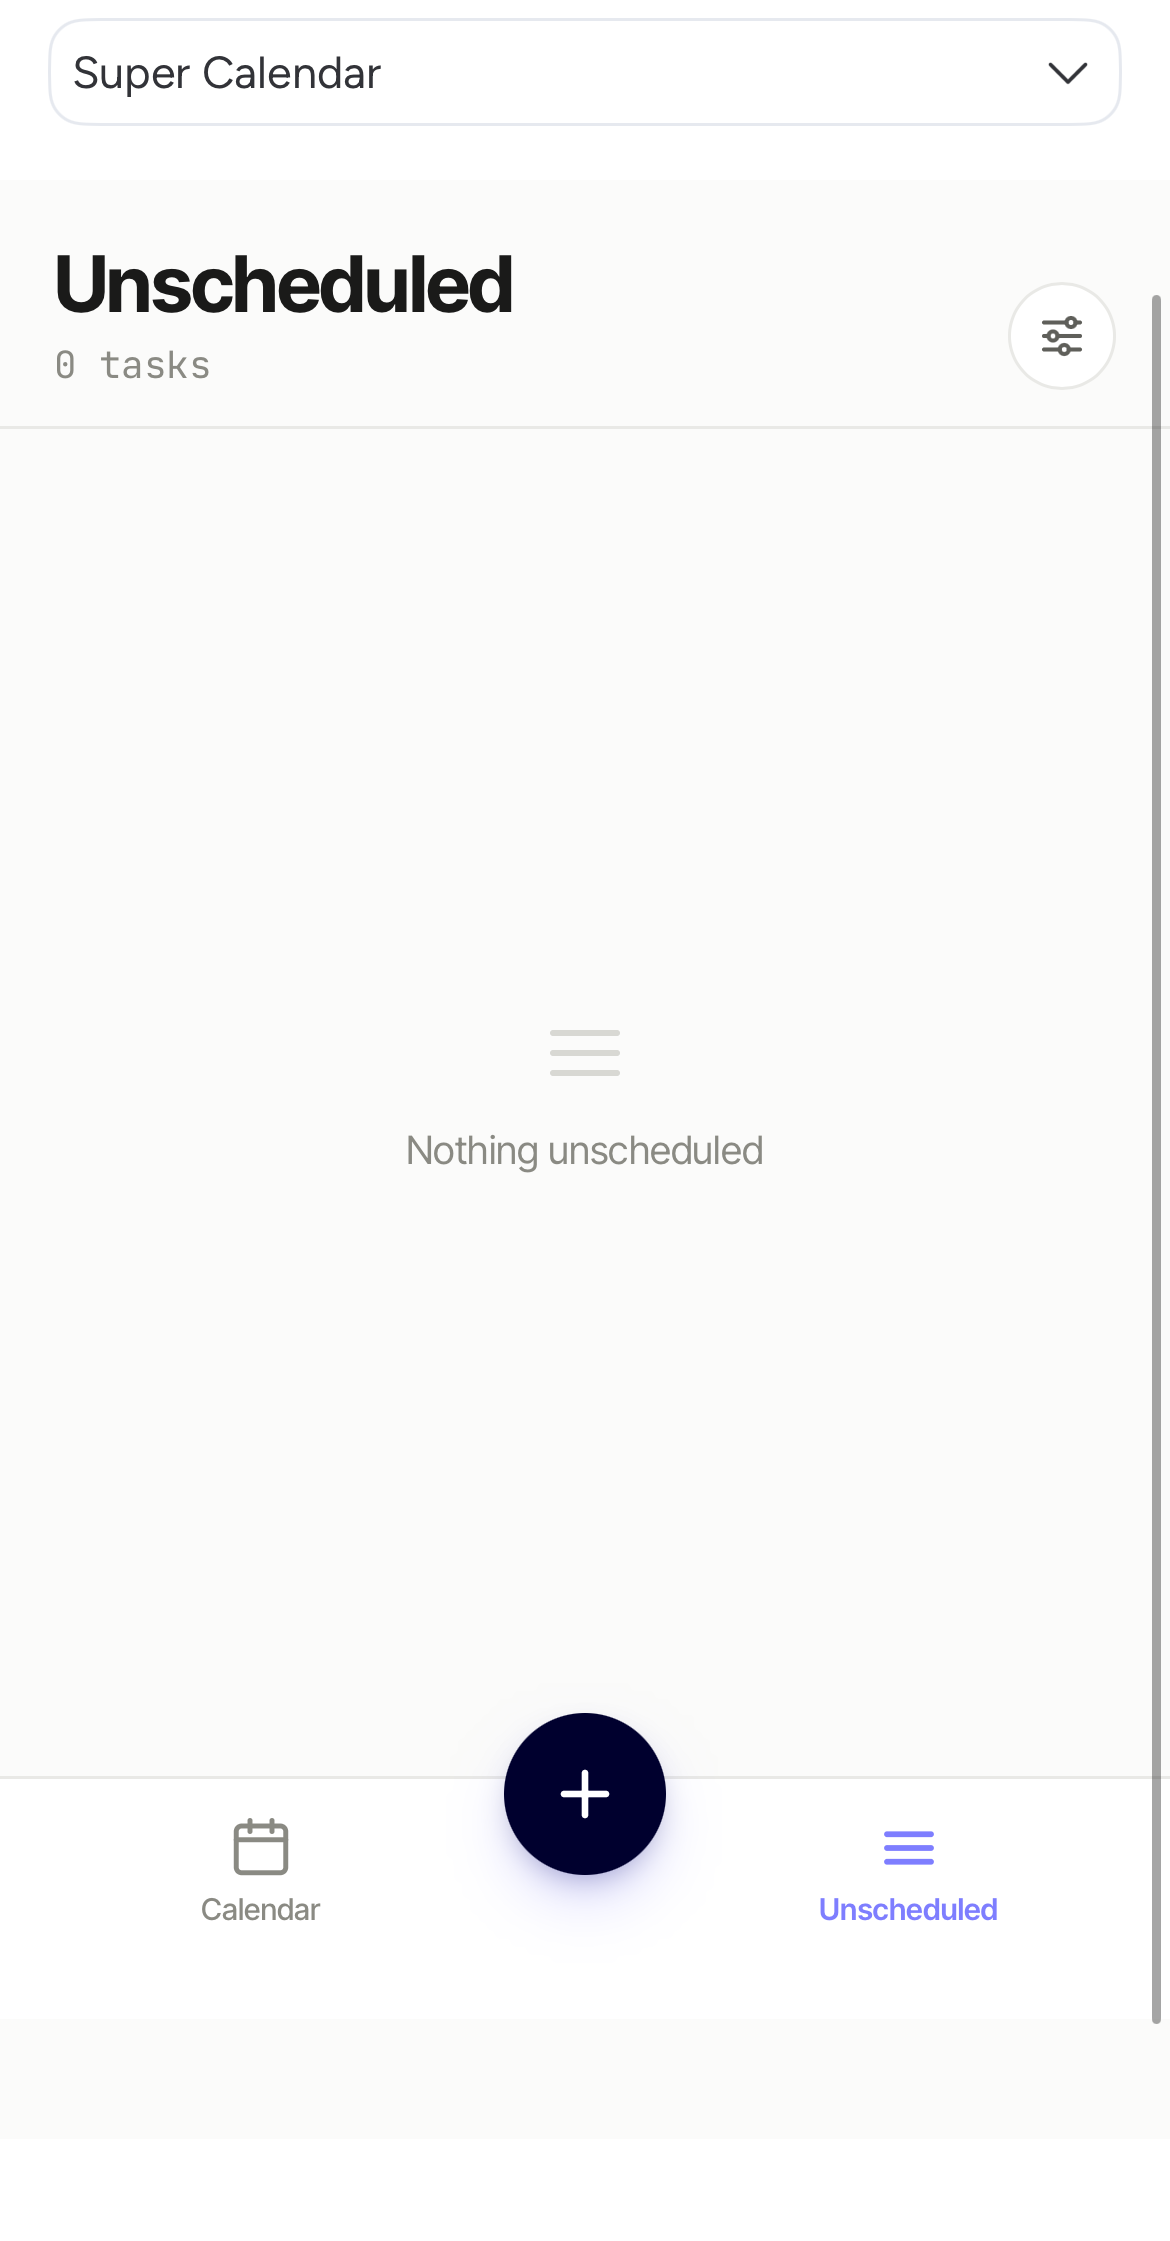
In the monday.com mobile app
Open the board in the app, tap the view name at the top and pick Super Calendar. Your column mapping and display settings carry over from desktop — no separate setup.
If something looks wrong
The board is not mapped and you are not an admin. Ask an admin to map the four required fields.
Items with no dates live in the Unscheduled panel. Check that no filter is hiding them.
Day and week views show only the Available hours window. Widen it or click Show 24h.
The board has no column of that kind. Add it on the board, then reopen Settings.
Still stuck? contact@straviont.com — Straviont can map the board with you.